


Before repairing a Mercedes bumper, clean and inspect the damage, protect with regular auto maintenance. For light repairs, use automotive kits; for deeper damage, paint with high-quality matches, airbrush or spray, cure fully. Finish with car wax/sealant, wash regularly, check structural integrity at a collision center.
Maintaining your Mercedes bumper after repair is essential to preserve its sleek look and protect your investment. This guide walks you through the process, from preparing the damaged area to final touches, ensuring a long-lasting, like-new finish. We cover everything you need to know about Mercedes bumper repair, including a step-by-step painting process and practical maintenance tips. Follow these simple steps to keep your Mercedes bumper looking its best.
- Prepare Your Mercedes Bumper for Repair
- Step-by-Step Guide to Painting
- Final Touches and Maintenance Tips
Prepare Your Mercedes Bumper for Repair

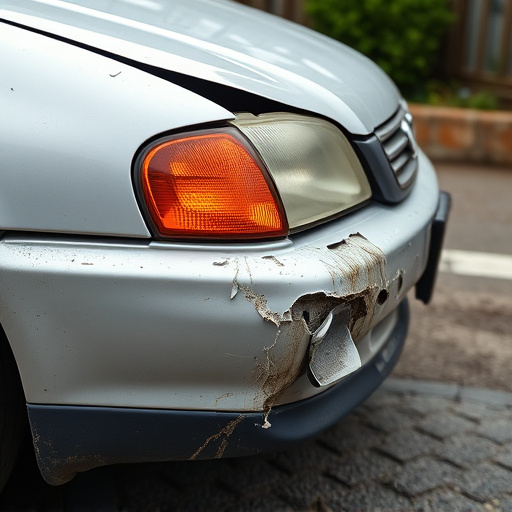
Before starting any Mercedes bumper repair, it’s crucial to prepare the damaged area properly. Begin by thoroughly cleaning the bumper to remove any dirt, debris, or residue that might hinder the repair process. Use a mild detergent and warm water, then rinse and dry the surface completely. This step ensures a clean canvas for your repair work.
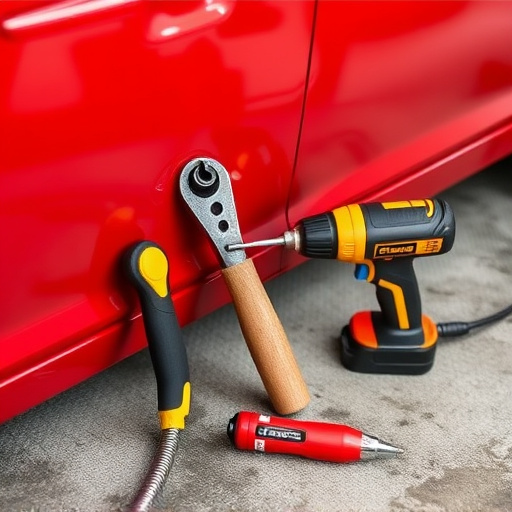
Next, inspect the bumper for loose or damaged components. Remove any screws, brackets, or other parts that are not securely attached. It’s also essential to assess the extent of the damage—whether it’s minor scratches, dents, or more significant cracks. For minor car scratch repairs, you might consider using specialized automotive repair kits available in the market. Regular auto maintenance practices, such as regular washing and waxing, can significantly delay the need for bumper repairs by protecting the paintwork from harsh elements and potential damage.
Step-by-Step Guide to Painting
After repairing your Mercedes bumper, a meticulous painting process is essential to ensure a factory-like finish and protect the new repairs. Here’s a step-by-step guide to achieving a flawless outcome:
1. Prepare the Surface: Begin by thoroughly cleaning the bumper area to remove any dirt, grease, or debris. Use a mild detergent and a soft cloth for this step. For best results, let the bumper dry completely before proceeding.
2. Sand and Prime: Lightly sand the repaired area using fine-grit sandpaper (around 300-400 grit) to create a smooth surface. This process helps to ensure that paint adheres properly. After sanding, use a primer specifically designed for automotive applications. Apply an even coat, allowing it to dry as per the manufacturer’s instructions. Priming creates a solid base for the final paint job and helps in concealing any imperfections from the repair.
3. Choose the Right Paint: Select a high-quality paint that matches your Mercedes’ original finish precisely. The paint should be specifically formulated for automotive use, ensuring durability and long-lasting protection.
4. Application: Using a spray gun or an airbrush, apply the paint in thin, even coats, following the recommended drying times between coats. Aim for at least two coats of paint to achieve complete coverage and a smooth finish.
5. Final Touches: Once the final coat is dry, inspect the bumper for any inconsistencies or touch-ups needed. For minor imperfections like small dents, consider using a paintless dent repair technique to preserve the original finish without painting. If there are visible scratches or chips, fill them with auto body filler before sanding and repainting.
6. Let it Cure: Allow the paint to fully cure for the recommended duration, often 24-48 hours, depending on the product. After curing, inspect your Mercedes bumper repair—it should now look as good as new!
Final Touches and Maintenance Tips

After your Mercedes bumper repair is complete, it’s important to give your vehicle those final touches to ensure a flawless finish. This includes thoroughly cleaning the repaired area with a mild detergent and soft cloth to remove any residue or fingerprints. Once dry, apply a high-quality car wax or sealant to protect the paintwork and enhance its gloss. Regular washing and waxing will maintain the integrity of the repair and keep your Mercedes bumper looking its best.
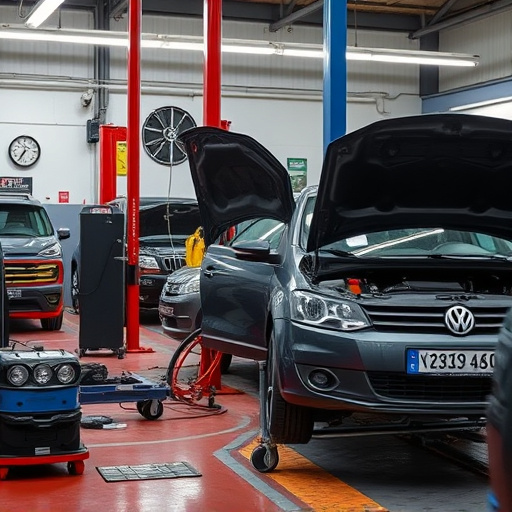
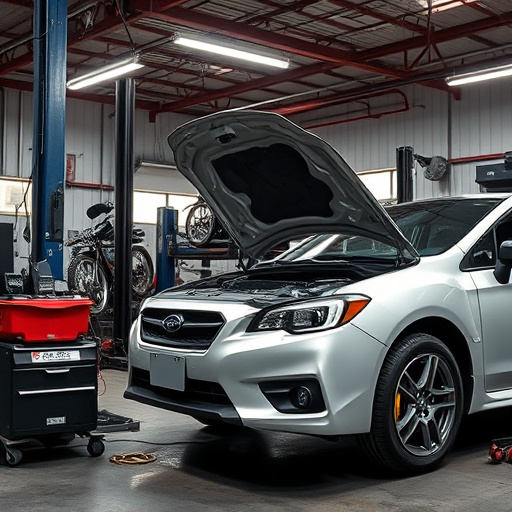
In addition to these aesthetic considerations, proper maintenance is crucial for long-lasting results. Keep an eye on the overall condition of your bumper, checking for any signs of damage or wear. Regularly inspect the seals and joints for cracks or leaks, as these can indicate underlying issues. Visiting a reputable collision repair center or shop for routine checks and servicing will help address potential problems early on. Remember, a well-maintained Mercedes bumper not only enhances the vehicle’s appearance but also ensures its structural integrity.
Maintaining a Mercedes bumper after repair is key to preserving its original look. By carefully preparing the surface, following a meticulous painting process, and implementing regular maintenance tips outlined in this guide, you can ensure your repaired Mercedes bumper stands the test of time. Remember, proper upkeep will not only keep it looking brand new but also maintain the overall value of your vehicle. For effective Mercedes bumper repair and long-lasting results, these steps are essential to achieving a flawless finish.